openapi code generator 사용해보기
FEConf 2024를 다녀와 바퀴 대신 로켓 만들기 발표를 듣고 openapi code generator를 학습해보고 실무에 적용할 수 있도록 하기위해 학습을 하는 과정을 기록한다.
학습해보고 적용해보고 싶은 주제는 14분 30초 정도부터 시작하는 서버 API 주제 발표인데, 일반적인 api 연동 과정인 스펙문서 확인 -> 코드 이관 -> data fetcher 작성 -> 코드 수정 의 과정을 효율화 하는 내용이였다.
OpenAPI Generator로 API의 안전한 Model과 정형화된 구현코드 자동생성하기 블로그 글을 참고했다.
openapi-generator#
우선 openapi-generator를 사용하려면 openapi-generator를 설치해야 한다. 나는 macos를 사용중이여서 공식문서에서 제공하는 방법 중 homebrew를 통해 설치했다.
설치 후 터미널에 openapi-generator를 입력해봤다.
The most commonly used openapi-generator-cli commands are:
    author        Utilities for authoring generators or customizing templates.
    batch         Generate code in batch via external configs.
    config-help   Config help for chosen lang
    generate      Generate code with the specified generator.
    help          Display help information about openapi-generator
    list          Lists the available generators
    meta          MetaGenerator. Generator for creating a new template set and configuration for Codegen.  The output will be based on the language you specify, and includes default templates to include.
    validate      Validate specification
    version       Show version information used in tooling

See 'openapi-generator-cli help <command>' for more information on a specific
다음으로 위 도움말 중 나는 생성방법에 대해 궁금해서 openapi-generator help generate 를 입력해봤다.
OPTIONS
        ...
        -c <configuration file>, --config <configuration file>
            Path to configuration file. It can be JSON or YAML. If file is JSON,
            the content should have the format {"optionKey":"optionValue",
            "optionKey1":"optionValue1"...}. If file is YAML, the content should
            have the format optionKey: optionValue. Supported options can be
            different for each language. Run config-help -g {generator name}
            command for language-specific config options.


        -e <templating engine>, --engine <templating engine>
            templating engine: "mustache" (default) or "handlebars" (beta)

        -g <generator name>, --generator-name <generator name>
            generator to use (see list command for list)

        -i <spec file>, --input-spec <spec file>
            location of the OpenAPI spec, as URL or file (required if not loaded
            via config using -c)

        -o <output directory>, --output <output directory>
            where to write the generated files (current dir by default)
        ...
많은 옵션이 나왔는데, 그 중에서 몇 개만 추려봤다.
-c는 config를 설정하는 옵션이다. 사용할 generator의 config 문서에 사용가능한 옵션이 정리되어있다.-e는 템플릿 엔진을 선택하는 옵션이다. 기본 엔진은 mustache 이고 handlebars도 사용 가능하다.-g는 generator를 설정하는 옵션이다.-i와-o는 input, output으로 openapi-generator를 사용할 input, output 경로 옵션이다.
우선은 테스트를 위해 config 설정 없이 최소 스크립트를 실행해보기로 했다. 나는 generator로 typescript-fetch를, input으로는 swagger 에서 제공하는 예제를 사용하기로 했다.
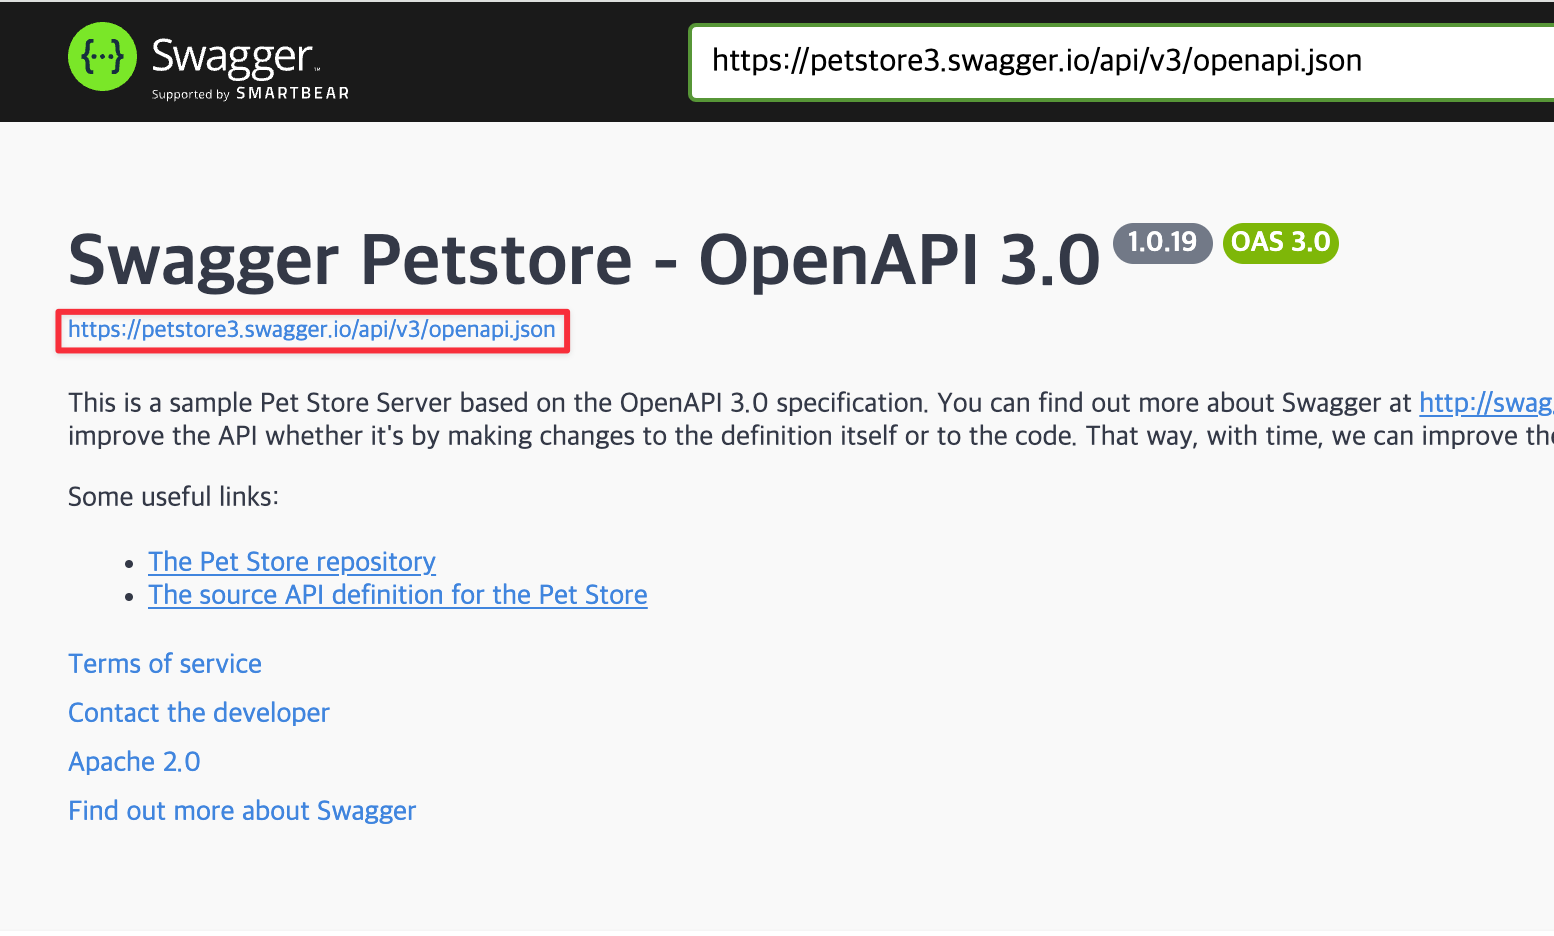
swagger api에서 제공하는 json, yaml 파일경로를 i 옵션으로 설정하면 된다.

나는 간단하게 작업하기 위해 script로 등록했다.
// package.json

 "scripts": {
    "generate": "openapi-generator generate -g typescript-fetch -i https://petstore3.swagger.io/api/v3/openapi.json"
  },

// command line
pnpm generate
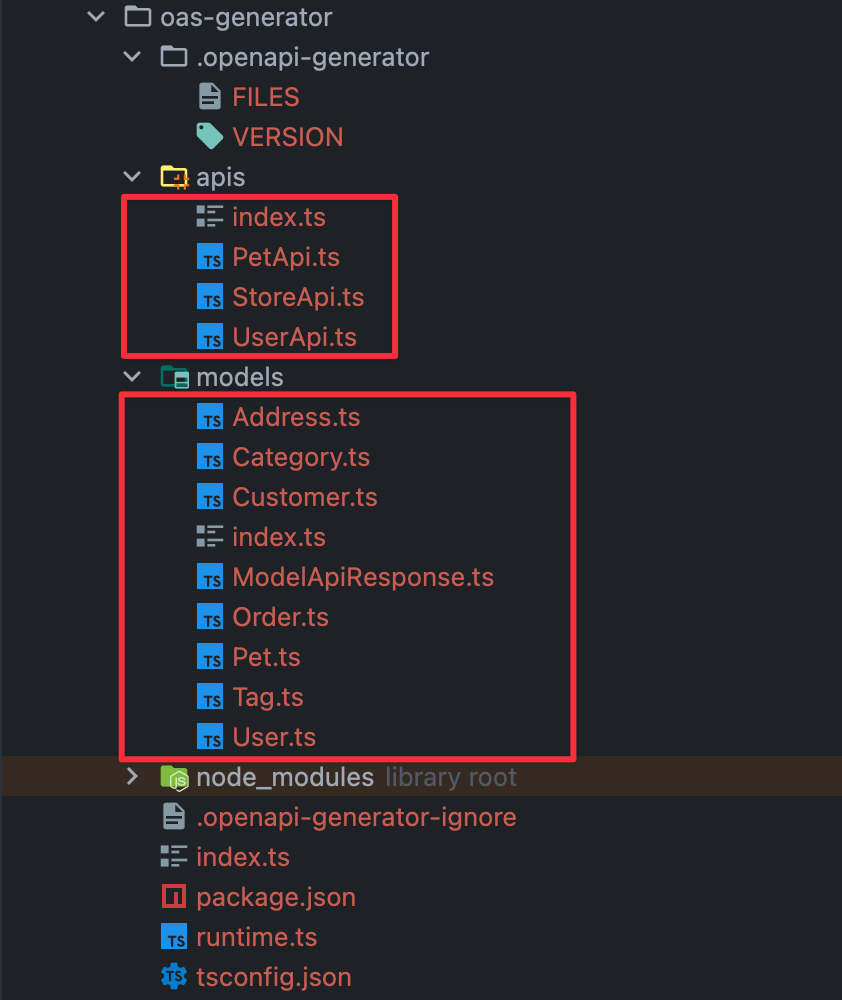
스크립트를 실행하니 다음과 같은 디렉토리와 파일이 생성됐다.

orval#
실무에서 적용하기 위해 추가 리서치를 했다. 현재 실무에선 httpClient로는 fetch, 상태관리는 react-query 유효성 검사는 zod를 사용하고 있는데 사용중인 라이브러리와 통합이 가능해야하는 조건이 있었다.
여러 openapi generator 중에서 조건에 적합한 generator로 Orval을 채택했다.
우선 orval를 사용하기 위해서는 설치가 필요하다
pnpm add orval -D
petstore 예제를 따라 config를 작성하고 실행하는 부분엔 큰 어려움은 없었다. orval.config.ts를 생성하고 config를 작성한 다음 pnpm orval 을 해주면 끝난다.
내가 사용해야 하는 환경에 맞도록 client, httpClient, zod 설정을 작성했다.
자세한 config는 공식문서에서 확인할 수 있다.
import { defineConfig } from 'orval';

export default defineConfig({
  petstore: {
    output: {
      mode: 'tags-split', // 파일 생성방법 // 단일로 만들건지 분기할건지 등
      target: 'src/petstore.ts', // 파일 생성위치
      schemas: 'src/model', // 모델 생성위치
      mock: true, // mocks 생성 여부 (기본 generator는 MSW)
      // baseUrl: "/api/v2",
      baseUrl: 'https://petstore3.swagger.io/api/v3',
      client: 'react-query', // 클라이언트
      httpClient: 'fetch', // http 클라이언트
      override: {
        query: {
          useQuery: true,
          useInfinite: true,
          useInfiniteQueryParam: 'nextId',
          options: {
            staleTime: 60_000,
          },
        },
      },
    },
    input: {
      target: 'https://petstore3.swagger.io/api/v3/openapi.json',
    },
  },
  petstoreZod: {
    output: {
      mode: 'tags-split',
      client: 'zod',
      target: 'src/gen/endpoints',
      fileExtension: '.zod.ts',
    },
    input: {
      target: 'https://petstore3.swagger.io/api/v3/openapi.json',
    },
  },
});
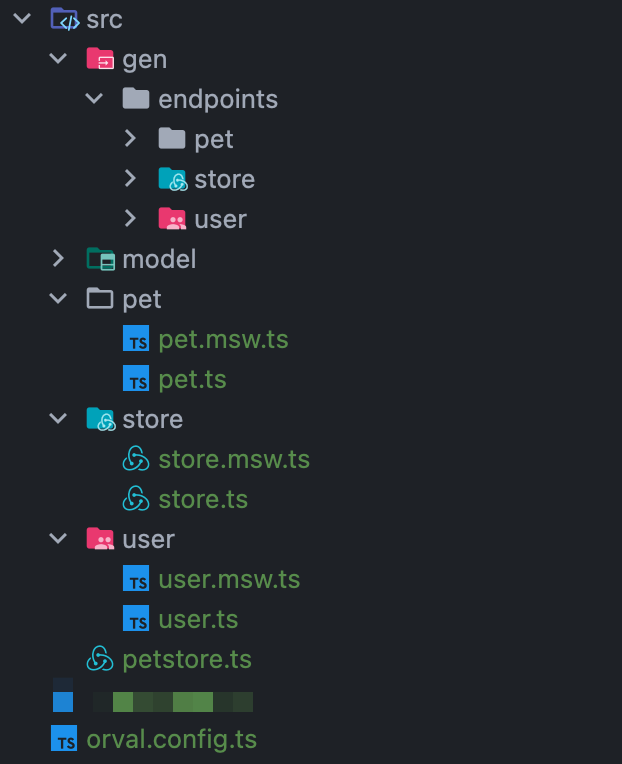
아래 이미지와 같은 코드가 생성됐다.

후기#
대략적인 방법은 알게됐다. 테스트 해본 것 처럼 환경만 갖춰지고 컨벤션만 정해두면 효율적인 작업이 가능할 것 같다. 이제 회사에서 동료 개발자분들과 컨센서스를 맞추고 환경에 맞게 커스텀을 해봐야 한다.
orval까지 사용하고 나니 orval config 설정 방법에 대해 더 깊게 학습해야 할 것 같았고, pet store 예제처럼 작성되어있지 않은 실무코드에 적용하려면 동료 개발자들과 swagger json 관련 컨벤션도 논의가 필요하다.
우선 실무에서 적용해보고 추가 포스트를 작성해야겠다.